The end of what Simon can do?

Hi!

After sewing my seventh shirt, trying to tweak settings in Simon to make it fit just right, I think I am at a point where Simon cannot be tweaked anymore the way I’d need it. (The seven shirts are numbered 1, 2, 3a, 3b, 3c, 3d, and 3e – number 3 is a series of test shirts, of which only 3c and 3e have survived, the others were immediately disassembled and recut again. And I doubt 3c and 3e will survive when the series continues. One shirt will survive and conclude the series. :slight_smile:)

The stuff I got right relatively quickly are generally the front and the back. Even in Shirt #1, it’s better than any other shirt I have. Series 3 was started to get the freedom of movement of the arms right, which I think I achieved in 3c. It was mainly a shoulder problem (the lower arm opening, the shoulder width, and for maximum comfiness, two side pleats in the back (I used the box pleat setting but shifted the pleats to 4cm next to the arm opening), and the sleeve cap top Y (approx. of the sleeve attachment angle)). The sleeves are OK, too, although I might get back to them later (there are still weird folds other shirts do not have, but it’s comfy). The remaining problem was the collar or more precisely, the neck opening. I cannot close the collar button, but I do want that for a collar-less shirt (with only the collar stand).

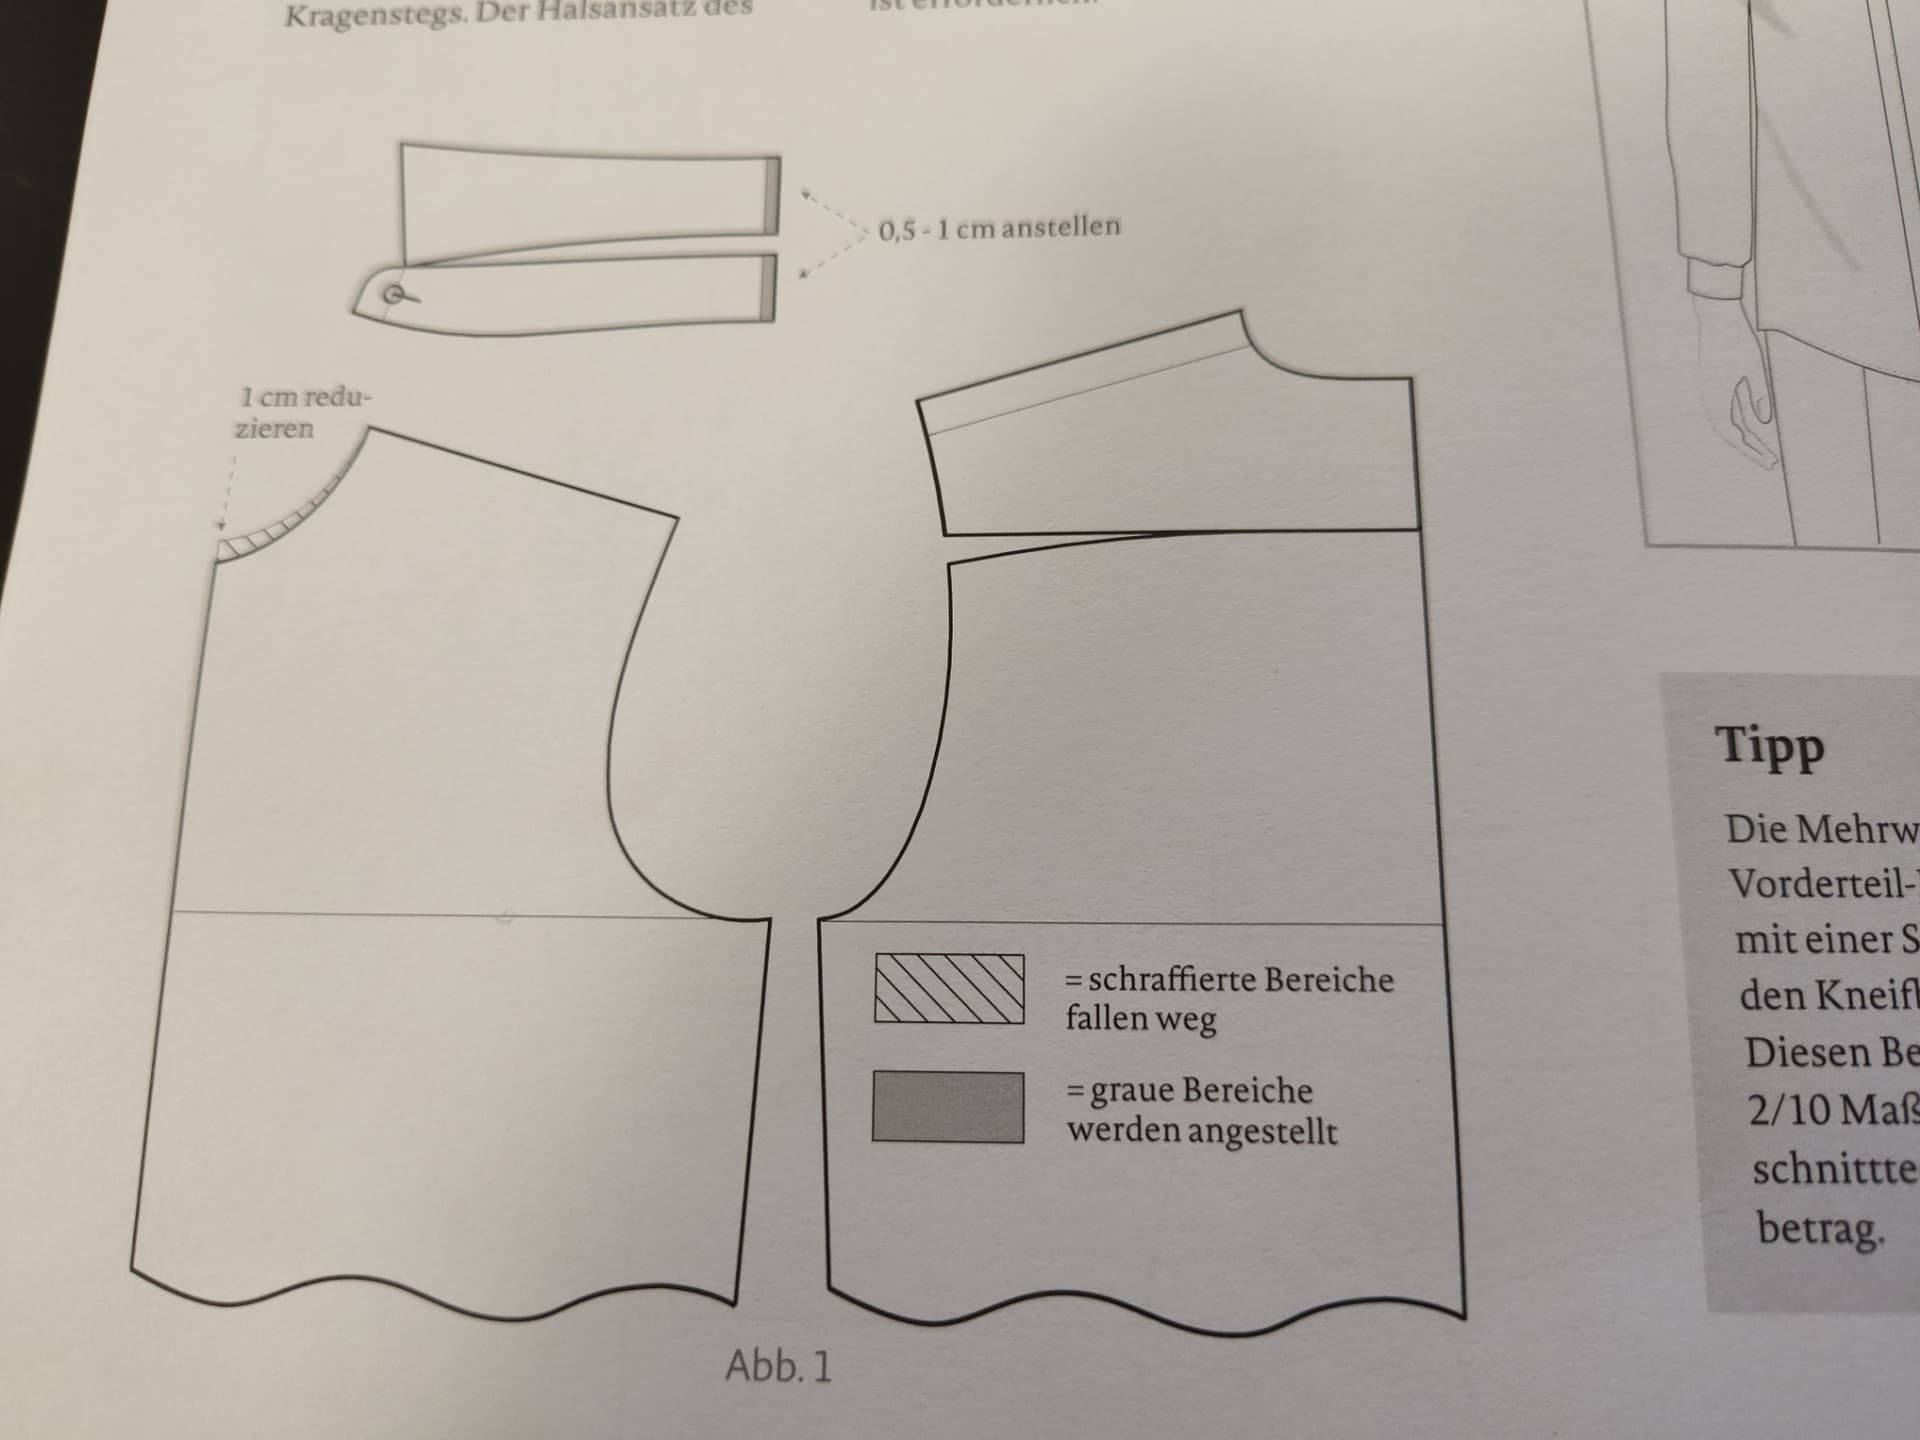
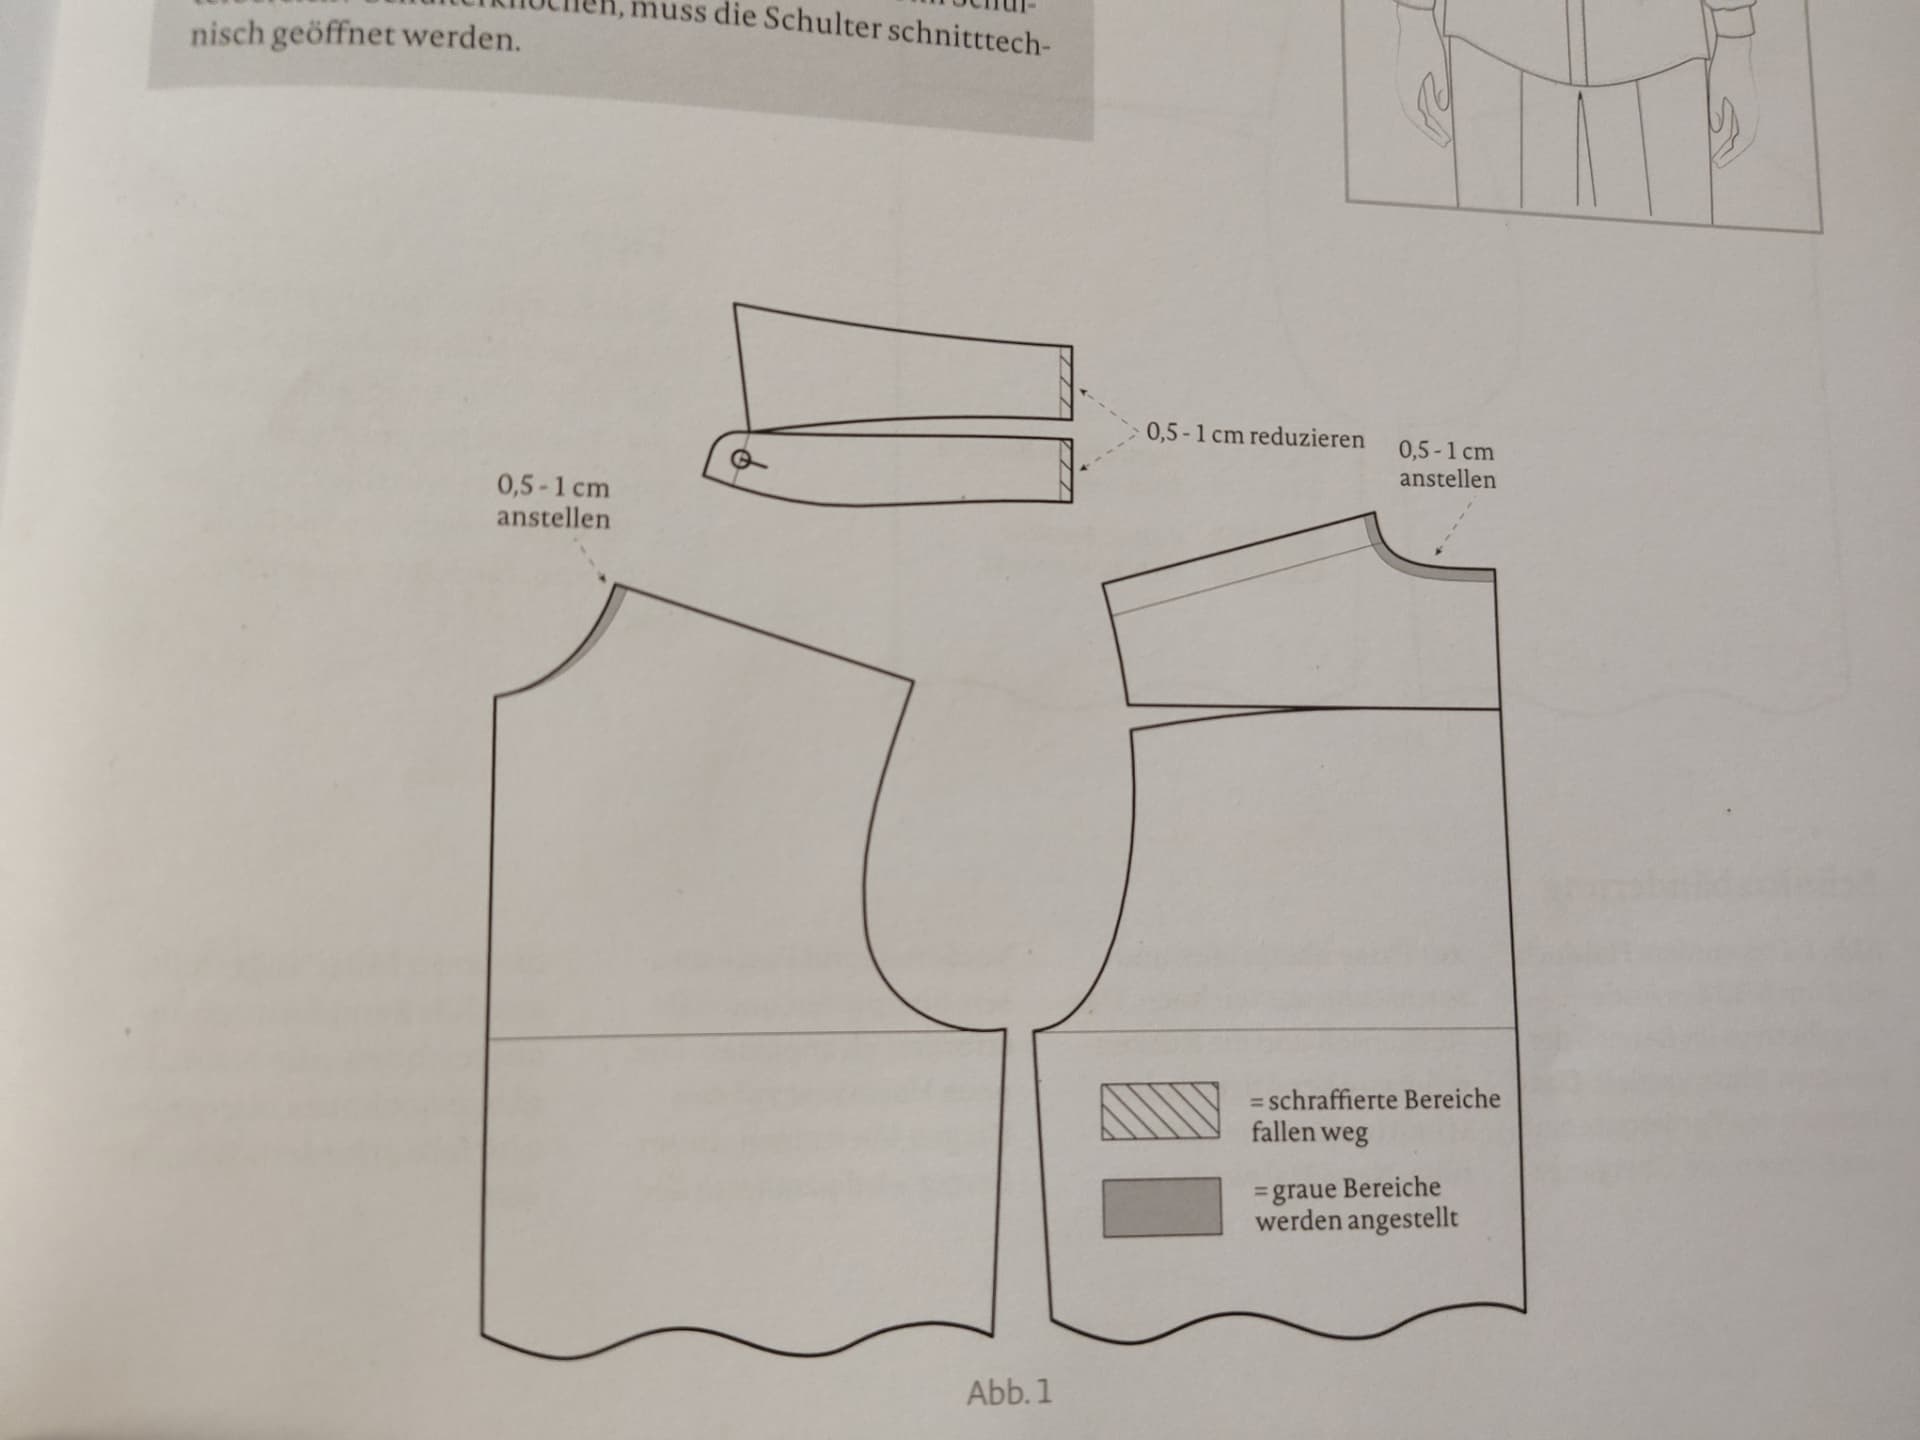
After tweaking back and forth quite a few settings (neck circumference, back neck cutout, …), I am convinced that my neck is simply more tilted forward than Simon can support. The only tweak I found that directly seems to address this is the Back Neck Cutout. But I don’t want that, because it just makes the back cutout more square, which is wrong, and I get sharp corners at the sides of my back neck. My neck is round there, not square. Instead, I want to tilt the collar opening forward by a few degrees, i.e., I’d expect the back cutout to stay rounded, but get shorter while the front gets more of the length. Or alternatively, the back should get longer at the top, moving over the shoulders to the front while the front should get shorter by the same amount, while the shoulder opening, of course, needs to stay the same. This might be the problem, because I notice that I pull the shirt down in the front to get the neck fit better, but after a few movements with the arms, it pulls back again, so it naturally is not aligned with the neck opening. I am talking about 10 or 15mm or so (not sure – cannot test) that the opening should tilt forward at the center, quite a bit.

Is this a known limitation? Or am I just not doing it right? Am I missing a setting or two? I’d otherwise have to go back to the ancient ways of modifying paper templates, which I actually want to avoid.

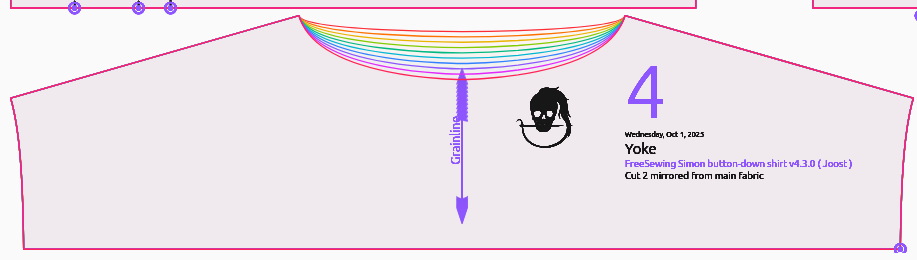
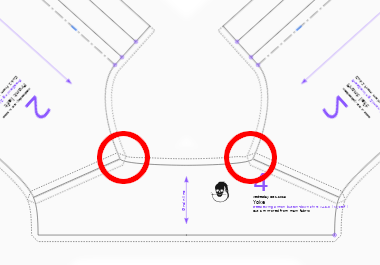
Another problem, maybe related, that I want to tackle later, is that the top of the shoulder does not correspond with the shoulder seam. The neck point is good, it’s the highest point of the shoulders. But at the arm opening, the top seam is way back compared to the real top of the shoulder, by maybe 4cm – quite a bit! Unfortunately, I cannot shift that point (there’s a bug that I reported that causes the sleeve to change when this point moves), and I also think that this might not be the right tweak, because I do not want to shift the yoke to the front for stylistic reasons, but I want to get that point to the highest point of the shoulder to make it fit right – this might indeed mean that the arm opening may be in the wrong place. But I don’t know.

Well, I really have no idea what effects my changes to the settings usually have – it’s still very much magic to me and trial and error (I think I read every available bit of docs). I cannot easily translate the problems I am experiencing into solutions of modifying the pattern. People tell me that that is normal, but I am still stuck. :stuck_out_tongue:

Any ideas?

Best regards,

Henrik

I checked the issue regarding the shoulder seam. Yes you can move the shoulder seam front/back but that changes the height of the sleeve opening.

As far as I understand that is the limitation of the Simon pattern and how it works. The sleeve opening is based on “shoulder point” and “waist to underarm”. While “waist to underarm” is fixed measurement the shoulder point is calculated from “HPS: high point shoulder” and shoulder angle and distance. I guess changes of the sleeve size opening are consequences of how it is calculated into the pattern and it was not the priority for the author. I think you can correct it with “biceps ease” option.

Btw, for me, as a programming illiterate person freesewing patterns are also a black box (aka magic) so I am strictly using those that works for me in first iteration. I have somewhere a whole box of Brians (which is basic block for Simon) that I never managed to bring to a proper fit.

And regarding your forward neck, how is this visible? Wrinkles under the collar, or a collar that is pulled away from the neck?

That’s not what happens when I use that option. The back cutout stays rounded, it just shifts more forward. Here’s a screenshot of the effect of tweaking that option:

OK, technically, it is still a curve, but the corners get narrower and narrower, and at the neck attachment point of the front, it will get more and more rectangular. At 2%, it is already quite pointy, and at 0.1% (not within the given interval, I know), the yoke has virtually no visible curve anymore. At 0%, it divides by zero, probably. :slight_smile:

Here’s my shirt 3c. I edited two times the front plus a yoke to show the flattened hole. Obviously, this is not a good visualisation, because it’s actually 3D. But sharp corner stay sharp corners in 3D, so let’s use it as a cheap approximation.

Now, this is already not an ellipse – some corners are narrower, particularly at the connection of the yoke and the front. But let’s see what happens when I set the back neck cutout to 2%:

Now the narrow corners at the connection are almost without curvature. And this shows: at these points, the collar is further away from my neck and there is space for a finger without touching neither neck nor collar. I would need this to be rounded, because my neck is round there, too. This is what I meant when I said that the back neck cutout does not tilt the neck hole forward. Instead, it makes the back neck cutout more rectangular.

What I imagine, without accounting for 3D problems is something like the following, where the same curve moves, instead of just the center point moving and changing the curvature.

Sorry for the bad editing… The lowest line is the original, and the ones above it are the moved curves. With the option I imagine, the shoulder top seam will also get longer as the neck tilts forward and the curve on the yoke shortens, and part of the curve will need to transfer into the fronts to account for the neck circumference. I am sure that this is not a simple thing. My question is whether there are settings which I can use to do this in Simon.

The collar is comfy at the back of my neck, with even a little too much space, and it is uncomfortable at the throat, where the collar presses against the neck.

There are wrinkles on one side, but that’s a different thing – I am uneven on the left compared to the right.

At the point where the top seam meets the yoke, there is a gaping space where the collar bends abruptly, and I can stick a finger between the collar and the neck there, without touching anything. This is what I meant by rectangular: the fabric, at this joint point, takes a sharp corner instead of being nice and rounded.

Yes, the overall shape of the opening is weird, probably this is result of moving sliders too much. Maybe the problem lies somewhere else in your measurements, like front and back differences or something else.

Before you spend too much time on it, I’ll offer my opinion: free sewing patterns can be difficult to adapt exactly to your liking, especially if you’re a perfectionist.

This is a basic change if the front is too high / close to the throat:

And this is when that back is gaping:

greyed areas you add (anstellen) , and the hatched areas you take away (reduzieren)

Ah, good! Thank you a lot for these!

And this also seems to correspond well with what I read in Coffin’s book: for an adjustment of the neck circumference within ~20mm, move only the front line and adjust the collar length accordingly, but do not change the back neckline. This seems to follow from the contruction of the pattern, which drafts the back neckline first, without considering the collar length. At least I think I understand it that way…

But Simon might work differently – I do not change the collar length, but I define the collar length as an input setting, and that length then gets distributed somehow. E.g., there is no measurement around the back neck between the two HPS points, right? I mean, to define the back neckline length from. So, I think, in Simon, an adjustment of the neck tilt forward would mea, maybe, to move to a back neck line for a smaller collar, plus an extended frontline to keep the overall collar length the same. This view also clarifies it for myself a bit, as to what I really will want to do, or what kind of control I feel I am lacking.

I am still unsure, but this help!

I couldn’t rest yesterday, so I tried to implement what I understood would be needed. It modifies Brian and adds a new option ‘Neck Tilt’ that basically does what is shown by nejcek74 above, and what is also in Coffin’s book, except that it decouples this from the collar length, which is controlled by different settings in Simon. To do exactly what the mentioned suggestions describe, you’d have to make the collar longer (by changing the neck measurement or the collar ease), and then use the new neck tilt option to shift the change to the front (positive setting).

I tried to visualise this with the option tester view, but because the reference point for positioning the pattern pieces is one of the collar points, essentially the whole pattern shifts around, with little focus on the actual change. The actual change is this: when the neck tilt is increased, then the back neck cutout is drafted for a smaller neck. And then the front is drafted from this, for the full collar length, which shifts the length to the front.

Here’s my pull request if you want to experiment:

The essential change is quite short (the rest are follow ups, and partly stuff that seems to be automatically updated by the build system – dunno):

I think you might be able to achieve a similar result by making the collarFactor option adjustable. It determines the width of the collar compared to the circumference or forward backwards distance. And then you can shift it forward or backwards using the back neck cutout option. But your option might be more intuitive, not sure.

That’s exactly the point.

When I saw the code, I also thought of just making the collarFactor adjustable. But then, thinking about it, that would not really do something that the books tell you. It would not map to recognisable pattern tweaks from books (or other sources) about shirt making. You’d have to somehow tweak an arbitrary, inexplicable value, e.g., the collarFactor is now fixed at 4.8. Hmm… But it’s OK if you just hide it and don’t talk about it. It’s really something internal for this construction method.

Therefore, I think, I’d not want to expose the collarFactor directly as an option.

Instead, the proposed neck tilt (together with the collarEase or the neck measurement) will do what the book tells you, and it does correspond quite directly to what I wanted to tweak. This aligns better, I think, with what knowledge you can gather from pattern making sources that describe the old ways, with pencil, paper, scissors, and tape. (And it could also easily be adapted to alternative back neck construction methods that do not have a collarFactor, because it simply scales the 2D shape.)

1 Like