I’m trying to make a Devon jacket at the moment, and I’ve run into some small things that should maybe be fixed in the pattern:
As noted here, topsleeve and undersleeve should be one word. This is now not the case in the pattern description, nor on the printable parts
The cutting instructions mention “Cut 1 Back part on the fold.” and “Cut 2 Back panel parts.” The actual printed parts say this:
"Cut 2 mirrored from main fabric for the “Back outside” part
“Cut 1 on the fold from main fabric” for the “Back panel” part.
I guess the instructions on the printed parts are true, but this was a bit confusing.
Also, as seen in the previous point, the naming isn’t consistent. It’s called “Back part” in the cutting instructions, and “Back outside” in the printed part.
No huge deal, but I figured this would help with polish and a consistent feel across the site.
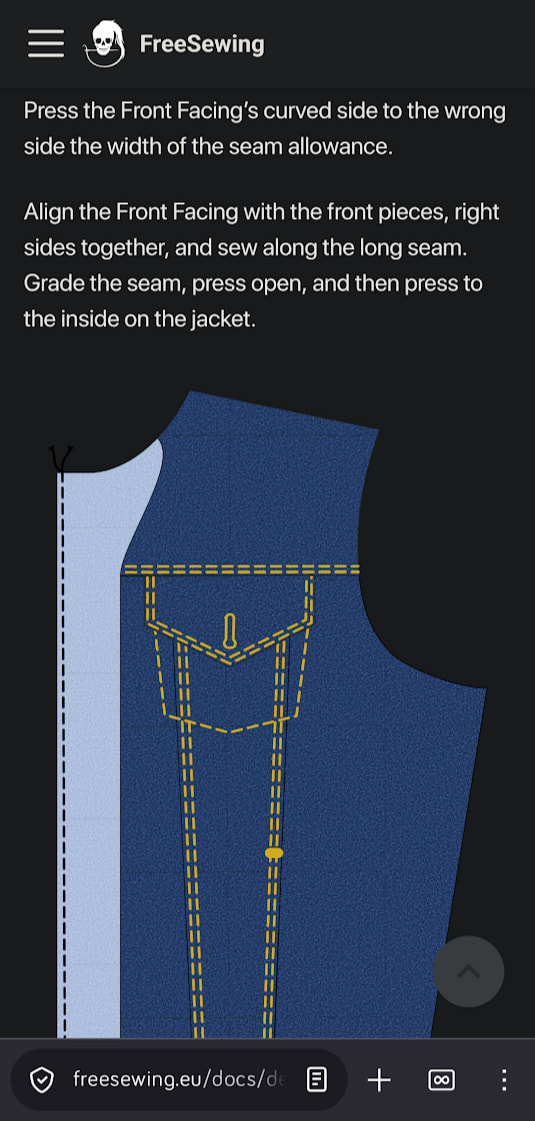
Also, perhaps this is my sewing newbie-ism talking, but this text took a while to make sense to me: “Grade the seam, press open, and then press to the inside on the jacket.”
It took me some time to realise I was meant to press the Front Facing to the inside of the jacket. The way it’s written down now suggests that I should press the seam to the inside of the jacket.
Some more feedback regarding the collar instructions: I found the diagrams for the collar topstitching and placement a bit misleading.
In the ‘Stitch the Upper Collar to the Under Collar’ step, the diagram shows topstitching on the ‘shorter’ looking edge. However, on the actual pattern piece, the neckline edge (with the notches) is also the shorter, slightly curved edge. This led me to accidentally topstitch the neckline instead of the outer edge. Of course, this is also because of my inexperience, but some extra clarity couldn’t hurt, right?
It would be very helpful if the diagrams explicitly labeled the ‘neckline edge’ versus the ‘outer edge,’ or if the notches were included in the topstitching diagram to show exactly which side should remain unstitched.
Another little thing: the warning " Make sure you catch the pocket flap between the facing and the front piece!" could be a little bit closer to “Top stitch along the outside of the facing.”
Thanks for all that feedback! It’s hard to write instructions when you know how things should go, so getting the point of view of someone who hasn’t done it before is precious
I’m glad it helps! I’m still chugging away at it so I’ll probably have some more feedback before I’m done
In fact—I’m not sure if it’s my measurements being off, but I don’t think so—my sleeve was way too small to fit my biceps.
I checked, and I filled in 32 cm as my biceps measurement, but I ended up having to fit an extra panel of 7cm (9cm with seam allowances) to fit my arm. Sure, if I tense my muscle it increases to 34 or 35cm, but that should still fit, right? Or is there some other measurement or default ease setting that might be a bit too tight for heavy denim?
I do hope I’m not giving too much feedback here, but…
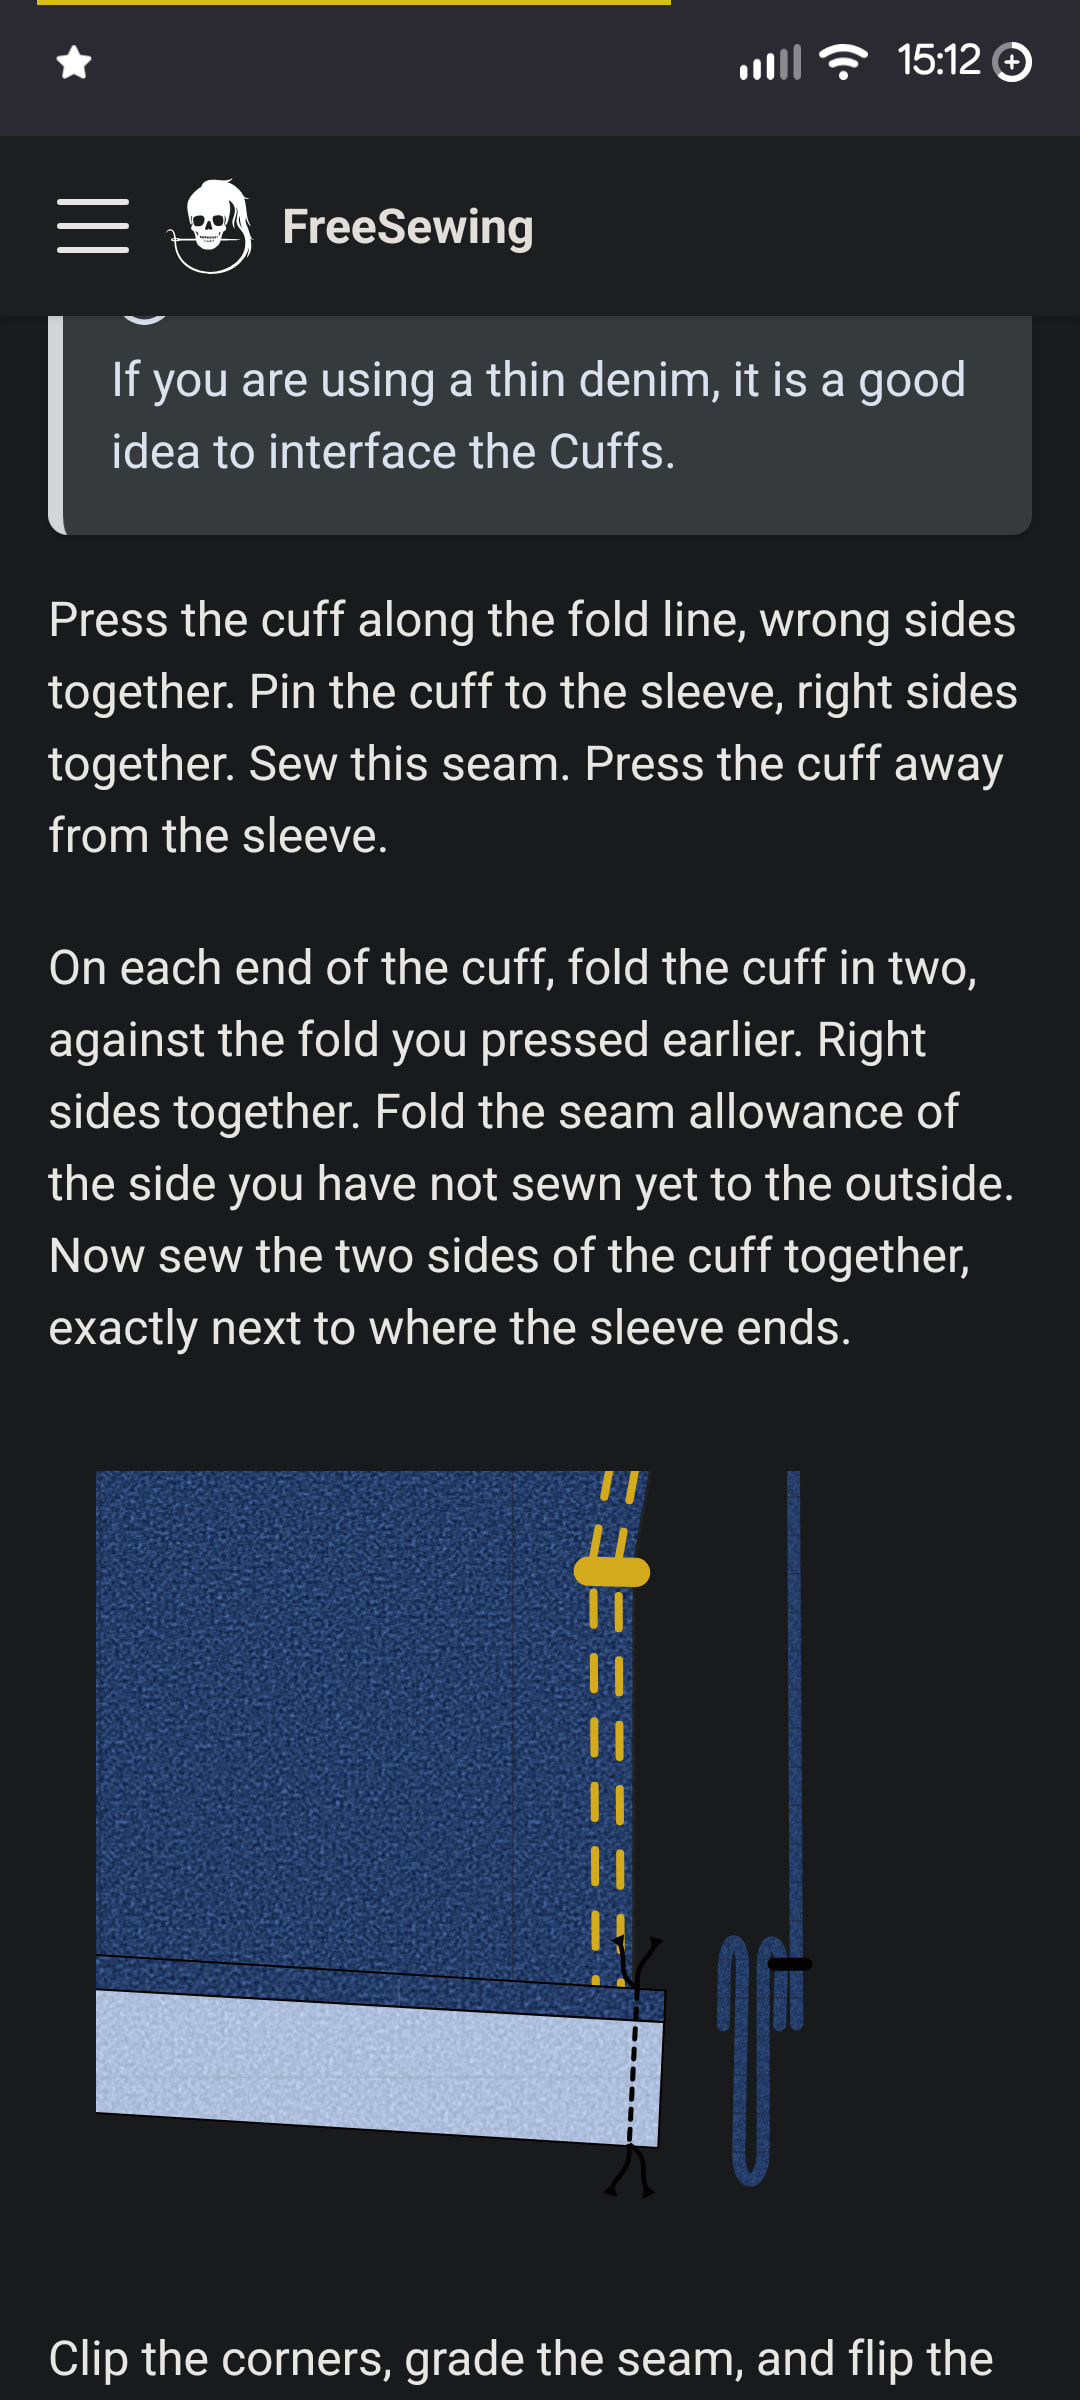
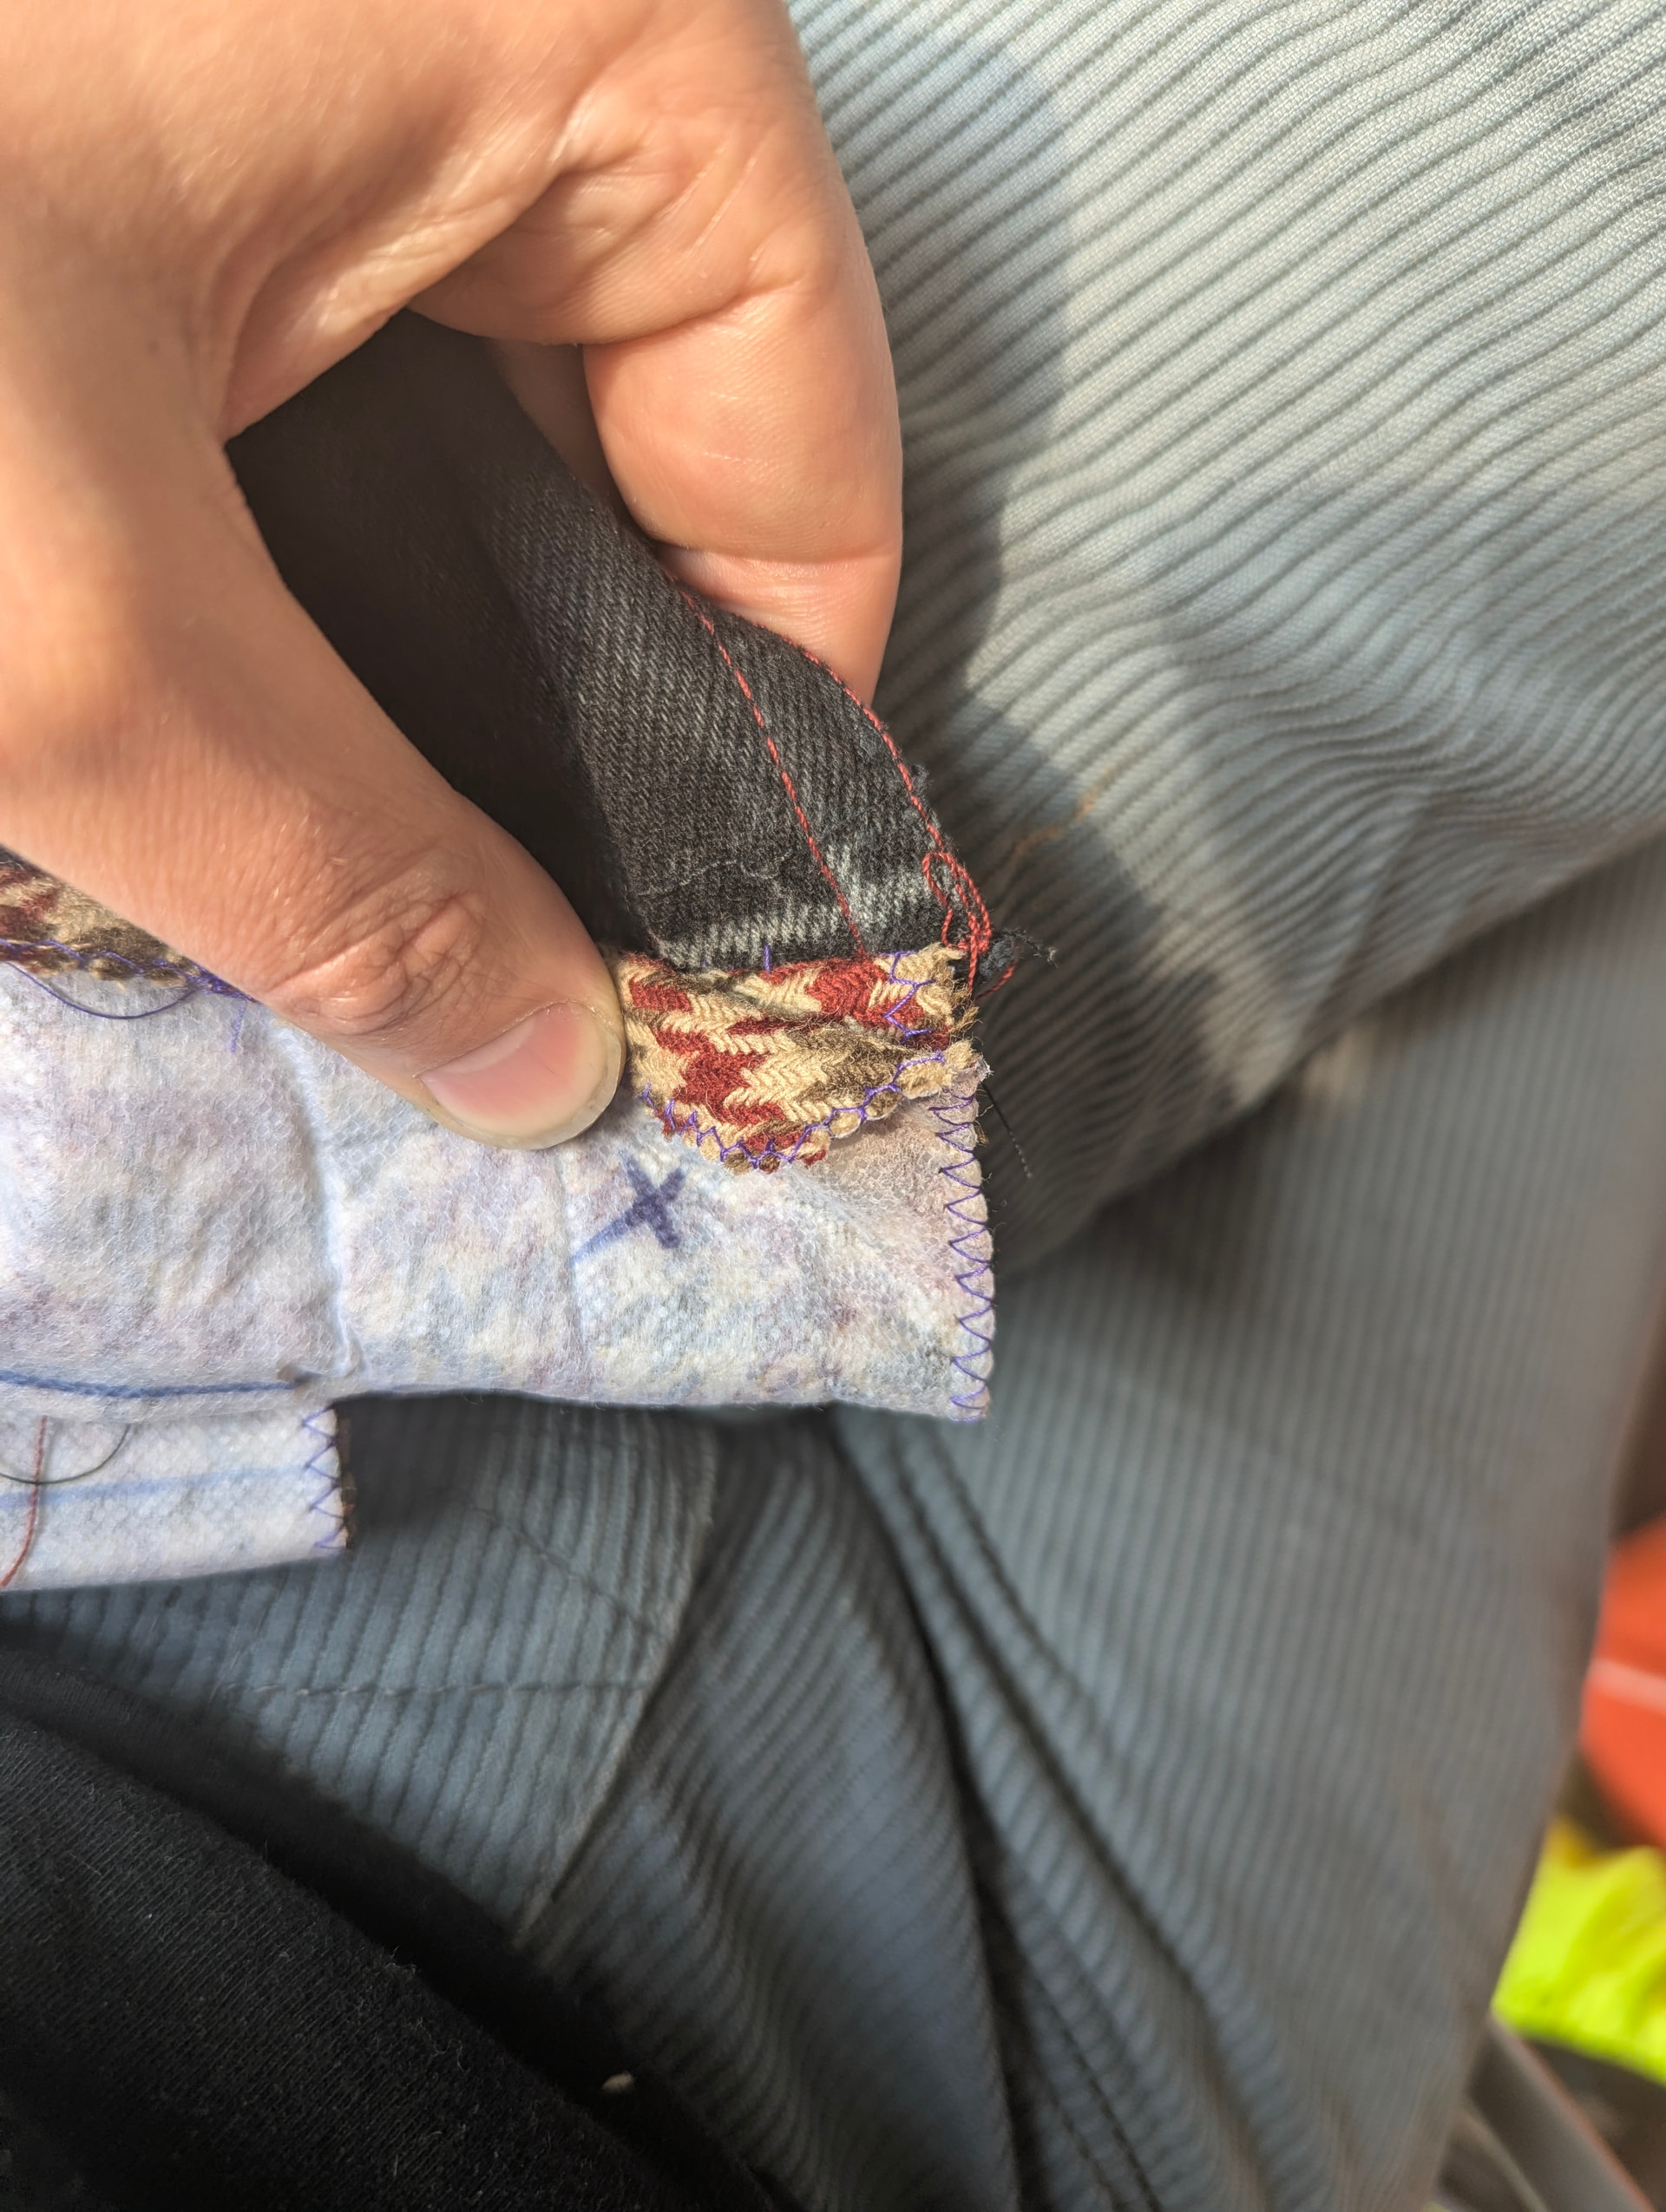
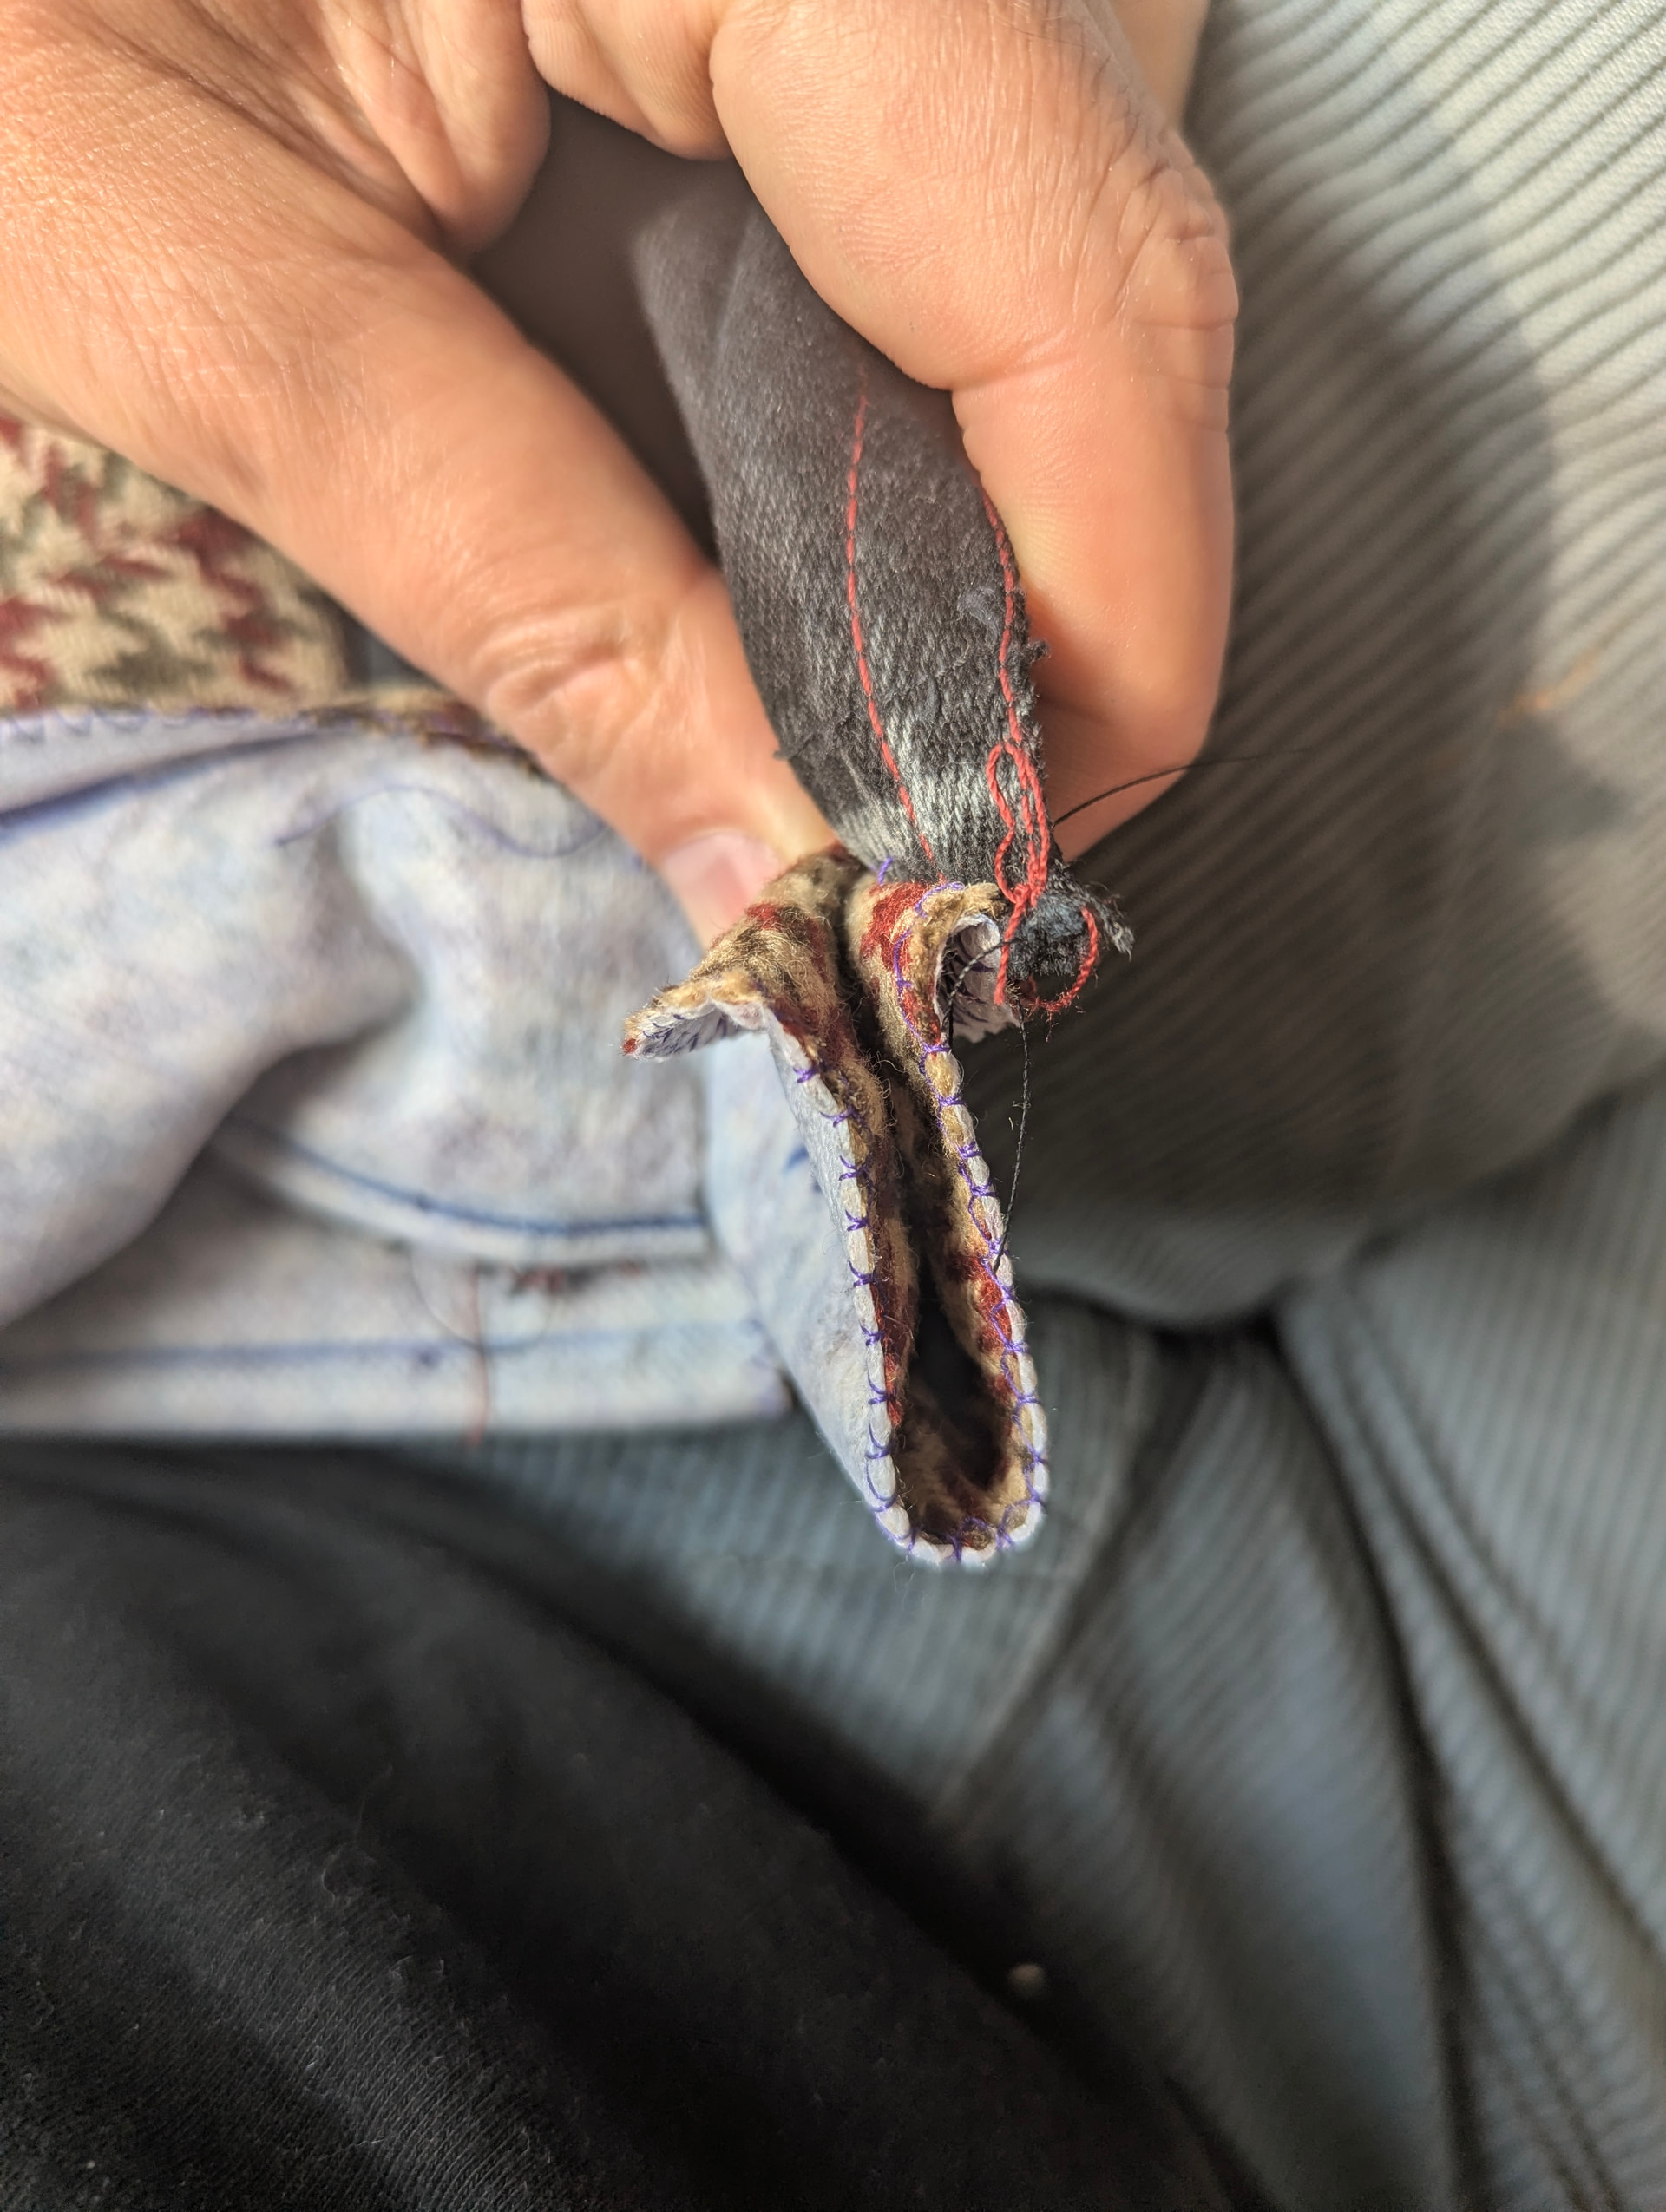
I’m trying to add the cuffs now, but after attaching them I just saw that I’m expected to let the seam allowance at the sides stick out past the side of the sleeve?
If it is, indeed, expected of the sewer to let the seam allowances stick out at the sides, maybe that should also be said rather than only shown in the illustration. (But, of course, if experienced sewers would just know that, and such information would be superfluous, feel free to leave it out!)
I just checked you pattern with the paperless option, and the topsleeve and bottomsleeve seem to result in a circumference of about 37cm. What do you measure if you look at the pattern pieces?
I’m surprised by this remark on the cuffs. Did you ease them in? The length of the cuff without the SA should match the length of the sleeve opening. Was this not the case with your pattern?
Hi Wouter, apologies for not getting back to you sooner.
When I measure my sleeve pattern pieces, I have about 18.5 cm width for the top sleeve and 12.3 cm for the bottom sleeve (around the bicept area). So that adds up to 30.8 cm.
But you’re right! If I look at the paperless pattern, I see 21.72 for the top sleeve and 15.08 for the top sleeve. Has something changed in the pattern? I created it on 4 November 2025. I can’t attach the pdf here, but I can still share it in another way if that would help. But I guess it’s been fixed since then, as the sleeve is now wider in the pattern
Regarding the cuffs: yes, I did ease them in and the length matched the sleeve opening. I just meant that the instructions could perhaps be a bit more explicit in that you’re supposed to let the seam allowance extend past the sleeve opening. It’s not mentioned now, only shown in the illustration. I did get it right in the end, by the way.
I finished the jacket a couple of days ago! You can see the finished project and my progress here.
It turned out my partner made some mistakes when measuring me—the shoulder-to-shoulder measurement was 8cm too long, and I suspect my length measurements also weren’t completely accurate, as the jacket seems a bit short. But oh well, this was my first “bigger” project, so I’m still pretty happy!
Yes, the drawback of custom patterns is that measurements can always be a problem :-). Either you’re by yourself and you have little chance of getting anywhere near the right numbers by just looking in the mirror. Or you’re usually roping in some helpless non-sewing person and giving them a crash course in a totally unusual-to-them field. Even if they’re measurement-heavy carpenters, they’re rarely used to measuring squishy objects like bodies. All we can do is try, and evaluate carefully the results, right?