See the announcement blog post at:
Shout-out to @jonathan_haas for adding this design ![]()
See the announcement blog post at:
Shout-out to @jonathan_haas for adding this design ![]()
Hi there! This come just at the right time for me.
I noticed a false link on the bottom of this page:
The link to the sewing instructions goes to the page for Penelope. Changing Penelope to Sabrina in the url works, but I didn’t manage to find the place to correct the link easily, so I thought I’ll better put the info here and let someone more experimented correct the link.
Thanks for the new pattern! I am going to try this very soon.
![]()
That’s not a real bug and more how navigation works on the site (penelope is the design alphabetically before sabrina on freesewing and the sewing instructions is the last page in each design).
You can find the correct link here:
I hope you like the pattern. Any feedback or showcase is appreciated.
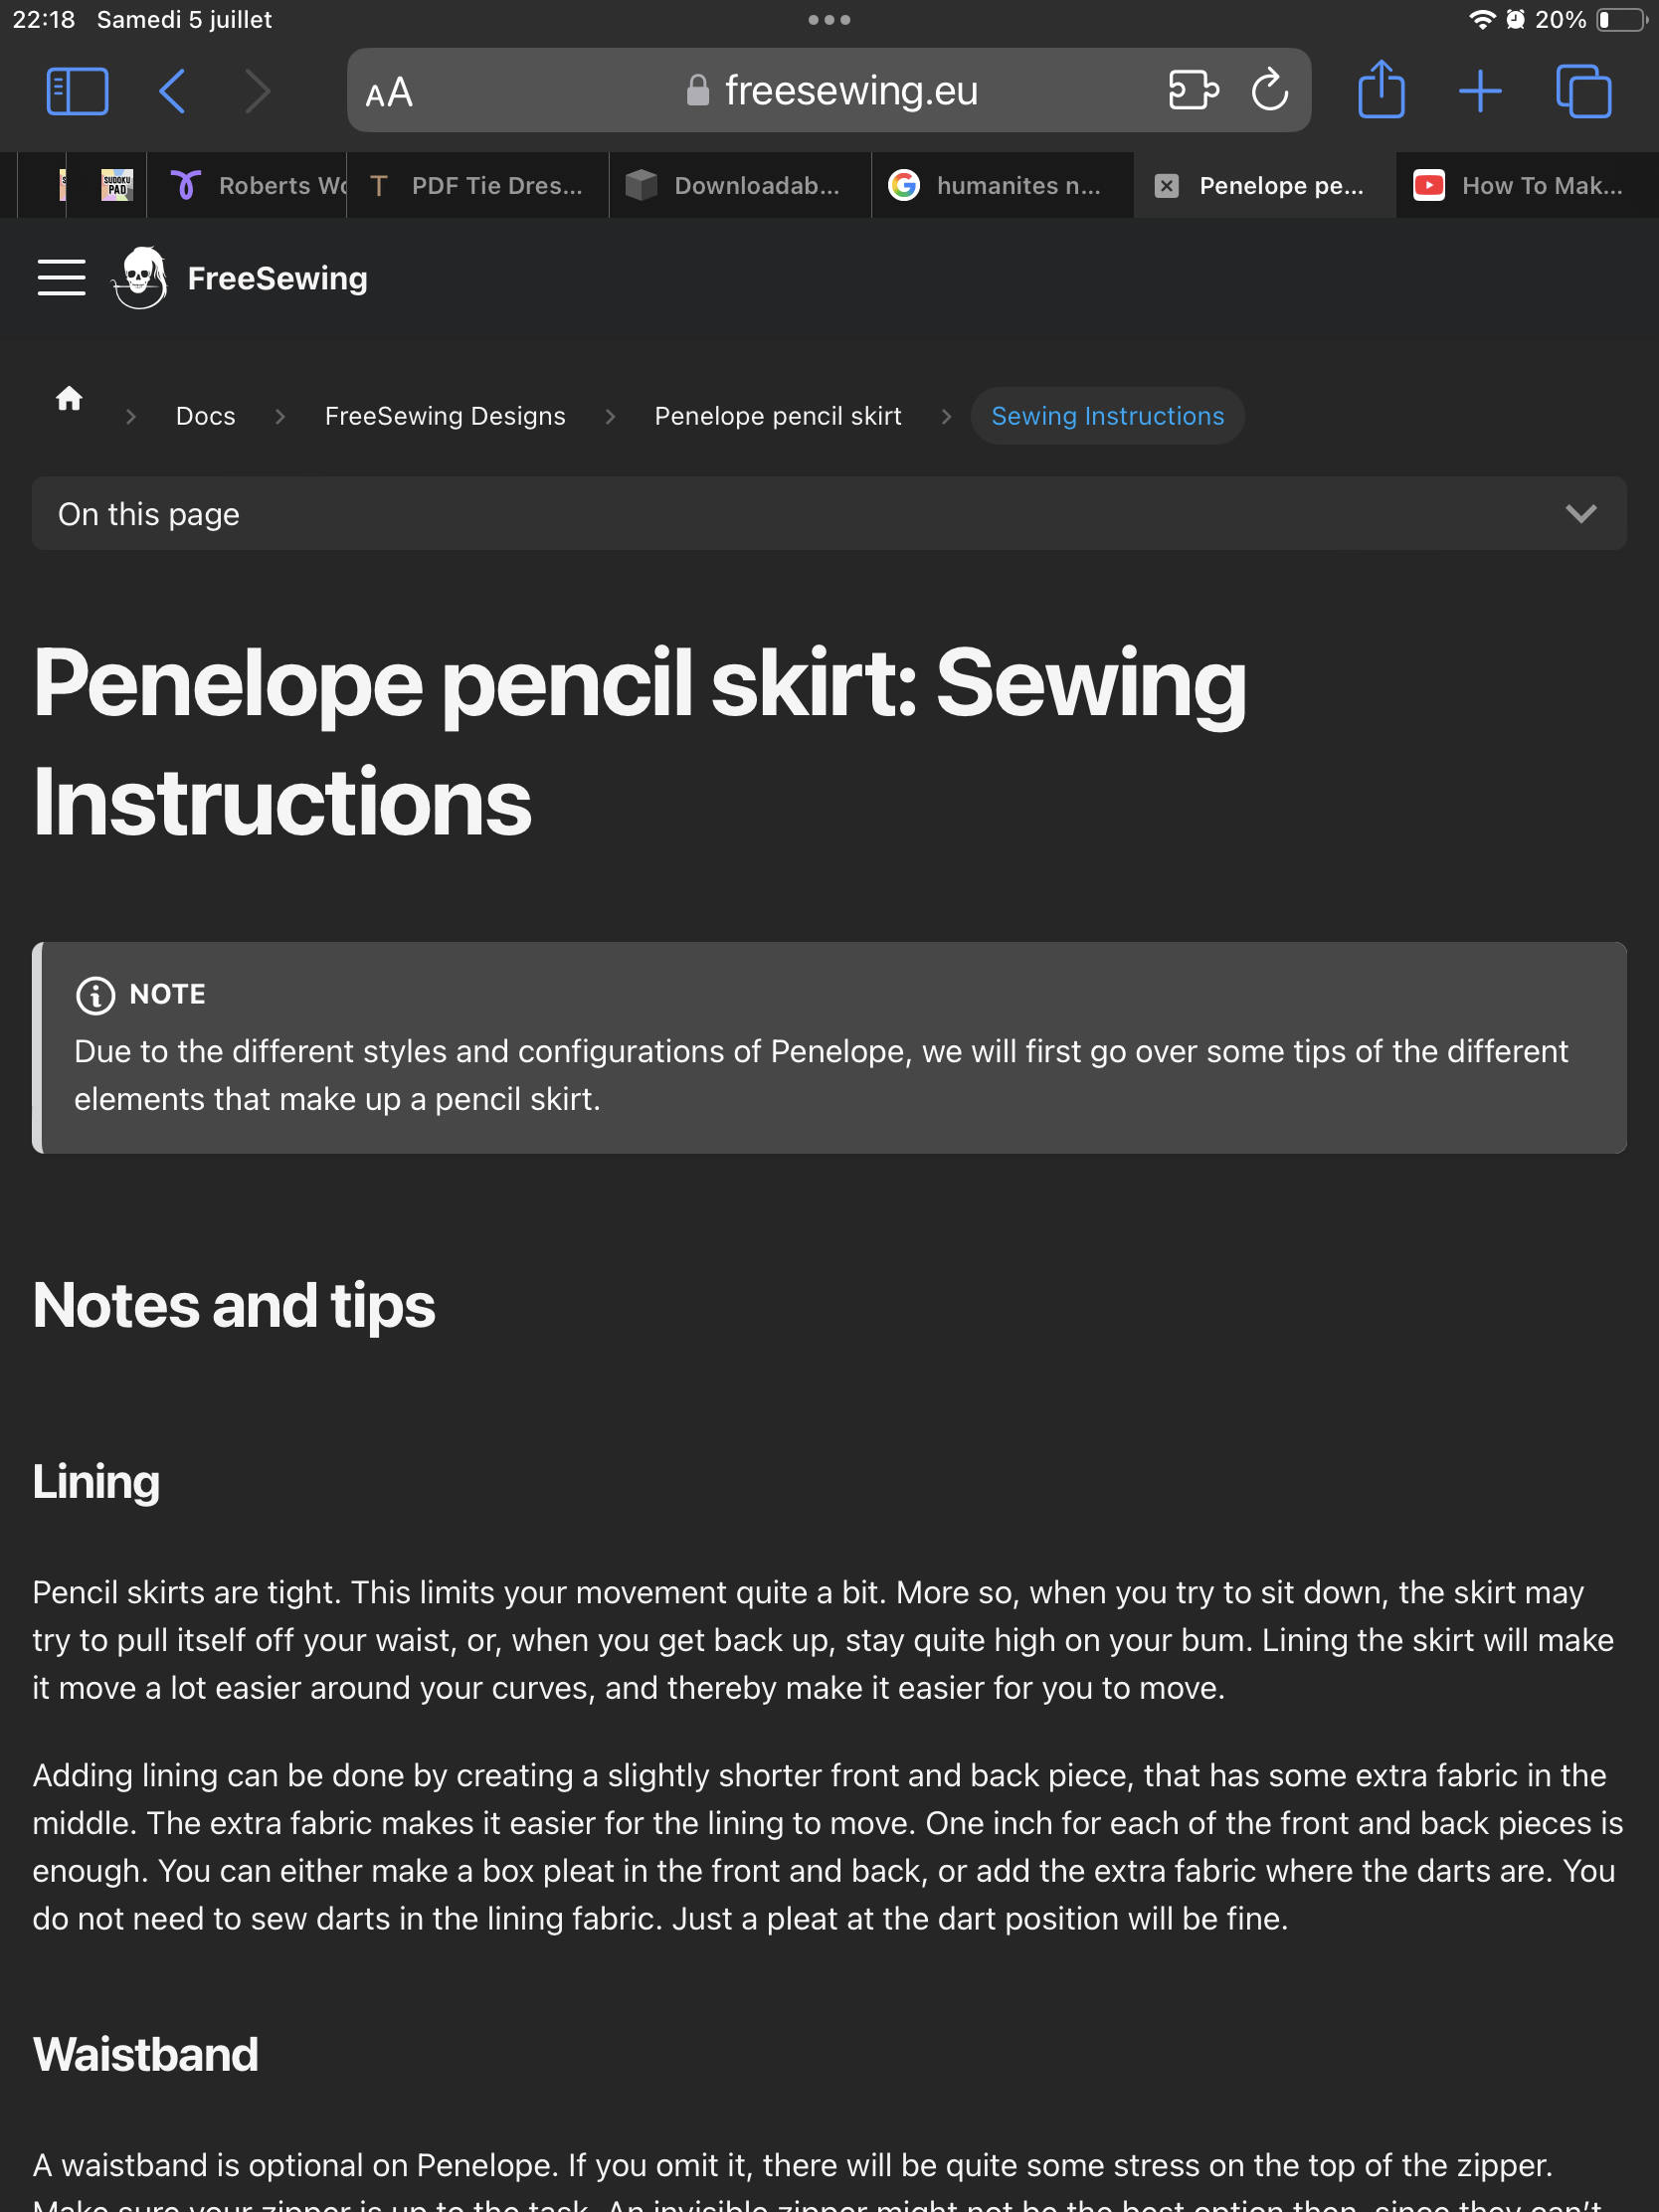
I don’t think I am wrong. The page I started from was the
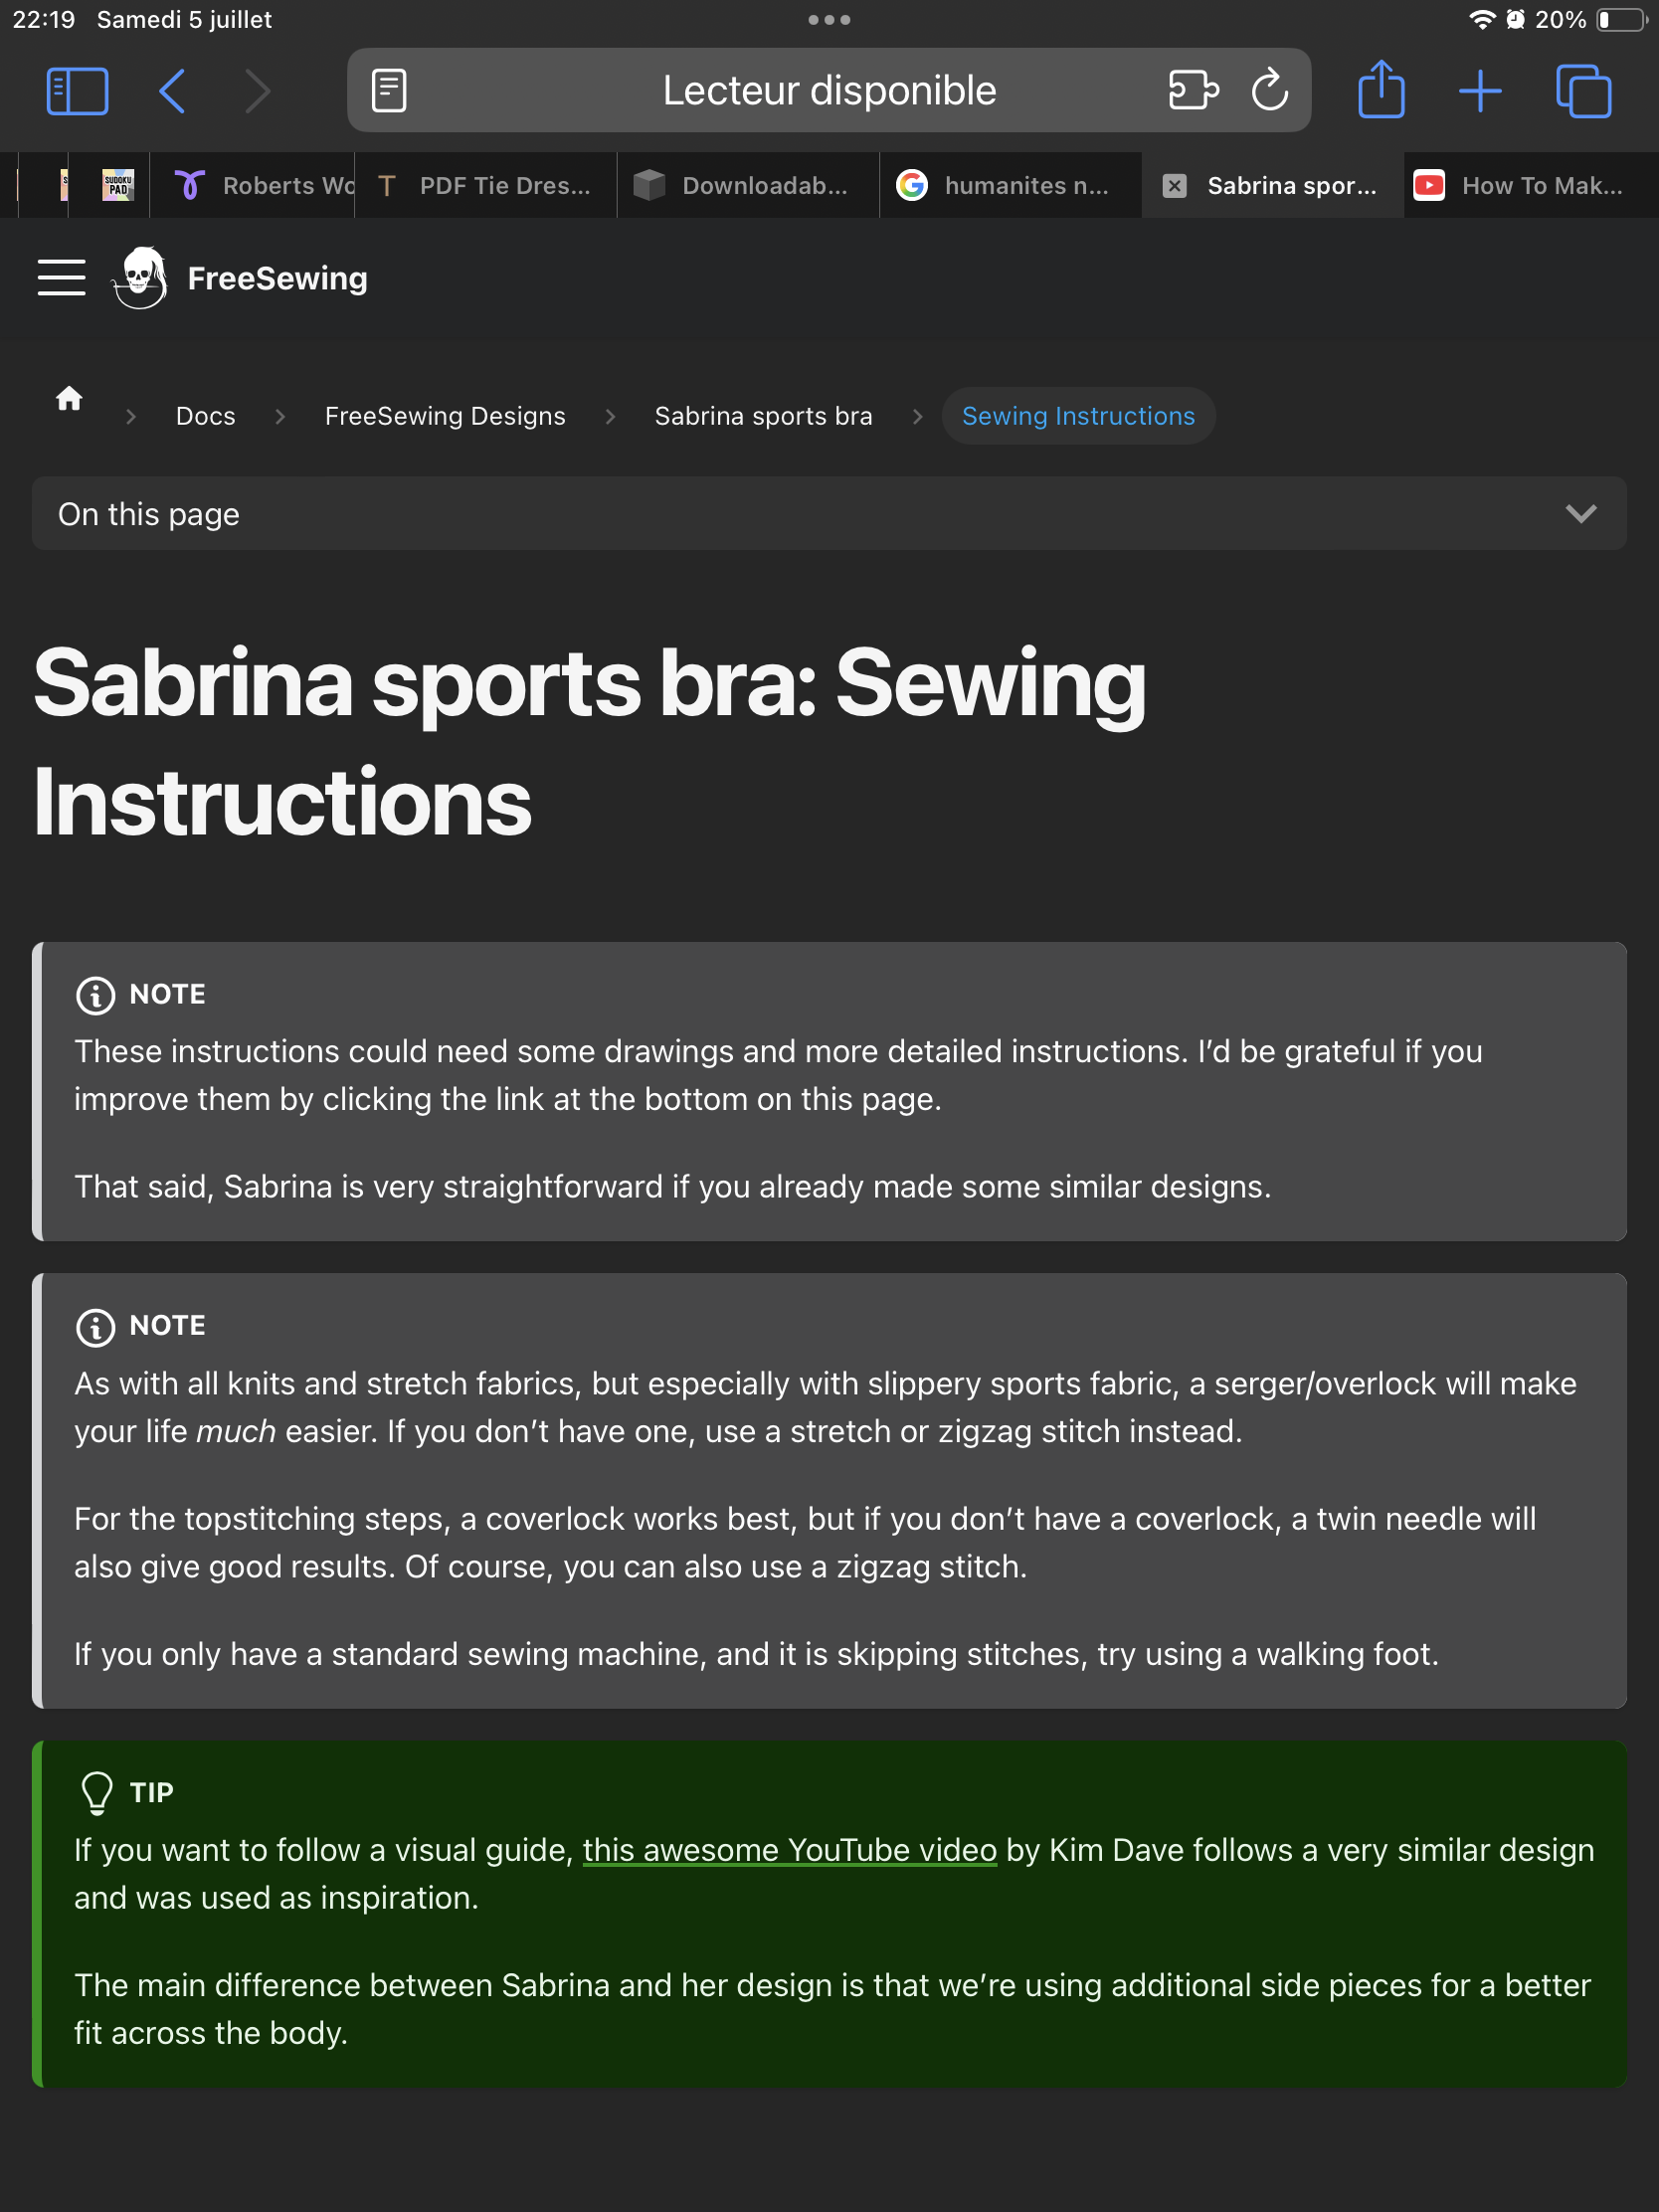
Then I change the url from Penelope/instructions to Sabrina/instructions and the result is the page I was looking for:
OR you really planned them to go to the previous and next pattern (which also would make sense) and the links in the rectangles should not imply they go to instructions or design options, AND go to the home page for the previous and next pattern, not their instructions (like the Penelope instructions showed up).
Sorry for the photo bomb, I hope it helps show you what I see. ![]()
Bonne nuit!
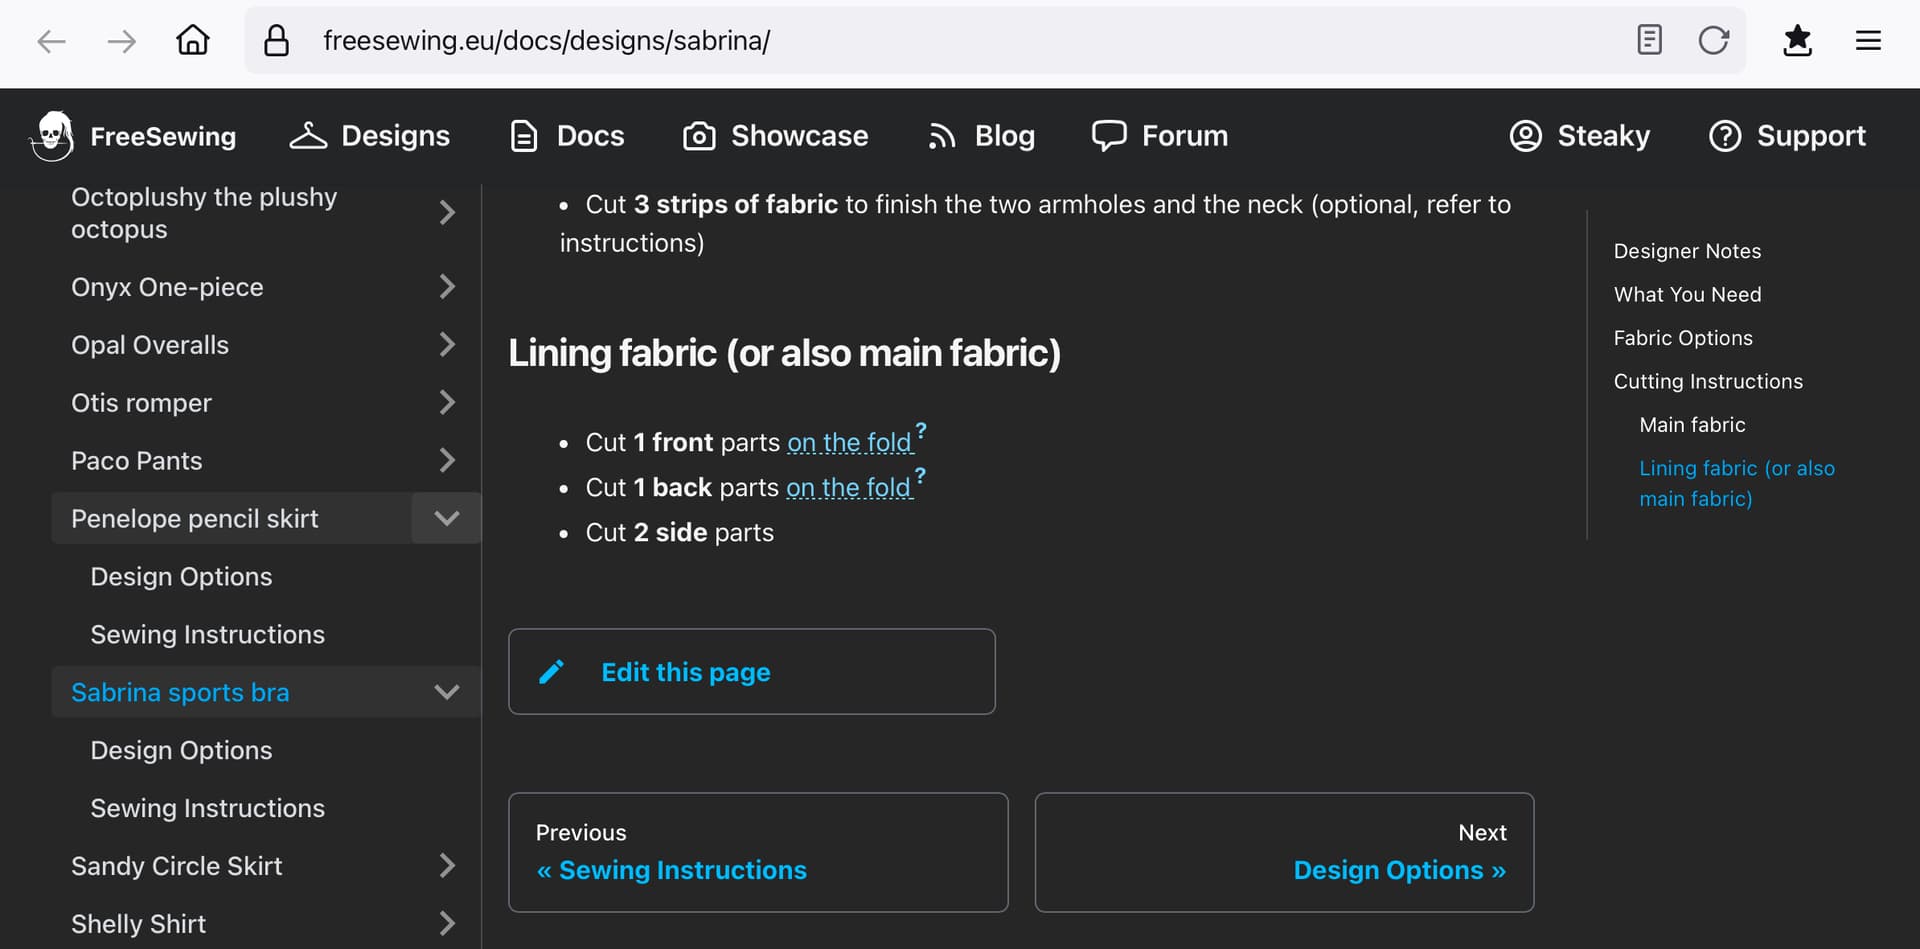
No, I get what you mean. If your screen is wide enough, you get a navigation bar on the left. It lists all designs and their sub pages. There the Penelope sewing instructions are above the main Sabrina page.
Note that the buttons on the bottom are labelled Previous and Next. The left button just brings you one page up on that side bar.
I agree that this is confusing. I’m not sure if it can be improved easily. We’ve discussed this before with @joost .
Also note that something similar happens with all designs, not just Sabrina. E.g. the left button in the Brian page ( Brian: FreeSewing's Brian Body Block | FreeSewing ) brings you to the Breanna sewing instructions.
Thank you for this, it comes at just the right time for my needs. Is this the right venue for suggesting instruction improvements/additions? I have sewn a few similar garments for myself and family members from commercial patterns.
Not to cause offense, as I’m new to the forums, but have been using Freesewing for a few years now. If it is okay, I’d like to suggest that this pattern, when main and lining fabrics are 4-way stretch as per the pattern, can be constructed using the burrito/tunnel method instead of fabric strips or fold-over elastic – you would then just add an option for seam allowances on the neckline and armscye, as those would be sewn together right sides facing instead of being bound.
a great step-by-step of the burrito method
a video that shows the process, just not a racerback
Thank you again! I will be sewing up a Sabrina in the bound way, and one in the way I suggest. I can send photos if you like.
So what @jonathan_haas is trying to explain is the buttons at the bottom are for navigating the list on the left side of the image below. The back button navigates to the last page above Sabrina, which is the sewing instructions for Penelope. The forward button takes you to the next page on the list. Think of it as turning pages in a book and the menu down the left as the chapters and pages within that book.
You mean as an option so the seam allowance on the neck and armscyes stays intact?
That should be easy enough. Feel free to add a Codeberg issue or remind me otherwise if I forget.
Yes, and a line or two in the instructions that mentions the method as a way to have no seams exposed? Particularly relevant for ppl w sensory issues and any folx who might want to use it as a binder.
I’ve created a pull request for the feature: #496 - [feature]: Sabrina: Add full seam allowance option - freesewing/freesewing - Codeberg.org
I don’t want to write full instructions for this method at this point. Mostly because I haven’t tried it myself yet. (I made a Wahid in a similar way before, but the construction is still different…)
Still, as the sewing instructions say, I’d be happy if you help improving the instructions.
This looks ideal!
I’ve clicked on the rectangle to edit the page, but it’s not letting me type anything…? I’m on 4 for User experience, should I be on 5?
The Jalie link above shows the tricky bits, but here is a step-by-step if you prefer not to link to something external.
Good sides together, sew side bodice pieces to front for both main fabric and lining. Sew shoulders of fronts to backs.
Align main fabric and lining with good sides together, and sew together around the neckline. Trim/snip seam curves. Turn good sides out.
Setting up to sew the left armscye: With good sides out, take the right strap and put it on top of the left strap. Bring the good side of the left side lining around and up so that the right strap is in between the main fabric and the lining, with the good sides of the left armscye facing each other. Pin together (or use clips) the whole armscye seam, squishing down the right strap inside toward the neckline seam so it doesn’t get caught.
Sew the seam, paying attention so you are only sewing the side of the tunnel together and not the “filling”. Snip curve.
reach into the tunnel and pull to turn good sides out. Finger-press the strap and armscye, to flatten.
Repeat Step 3 and 4 the same way for the right armscye. Turn the whole to the good sides, and topstitch the neckline now if preferred.
Pin and sew the side bodices to the back, lining to lining and main fabric to main fabric. They will already be connected at the bottom of the armscye, so it will be one pass each. Turn main fabric out, lining in, and topstitch the armscyes if you want.
Attach the bottom band the same way as the main instructions.
I hope this helps? I am garbage with coding, but let me know if these are understandable and suitable for adding to the page, or what I need to do to make them clearer. Photos maybe?
Thank you!
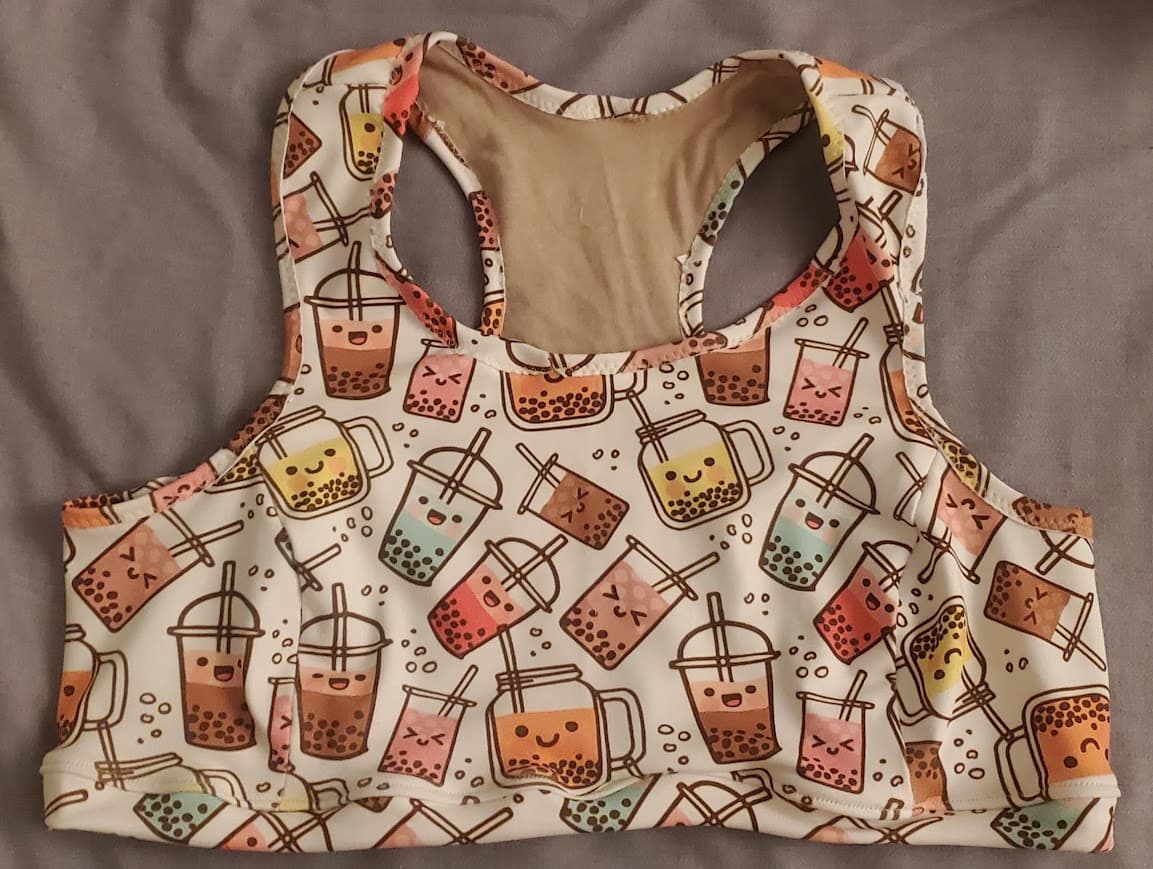
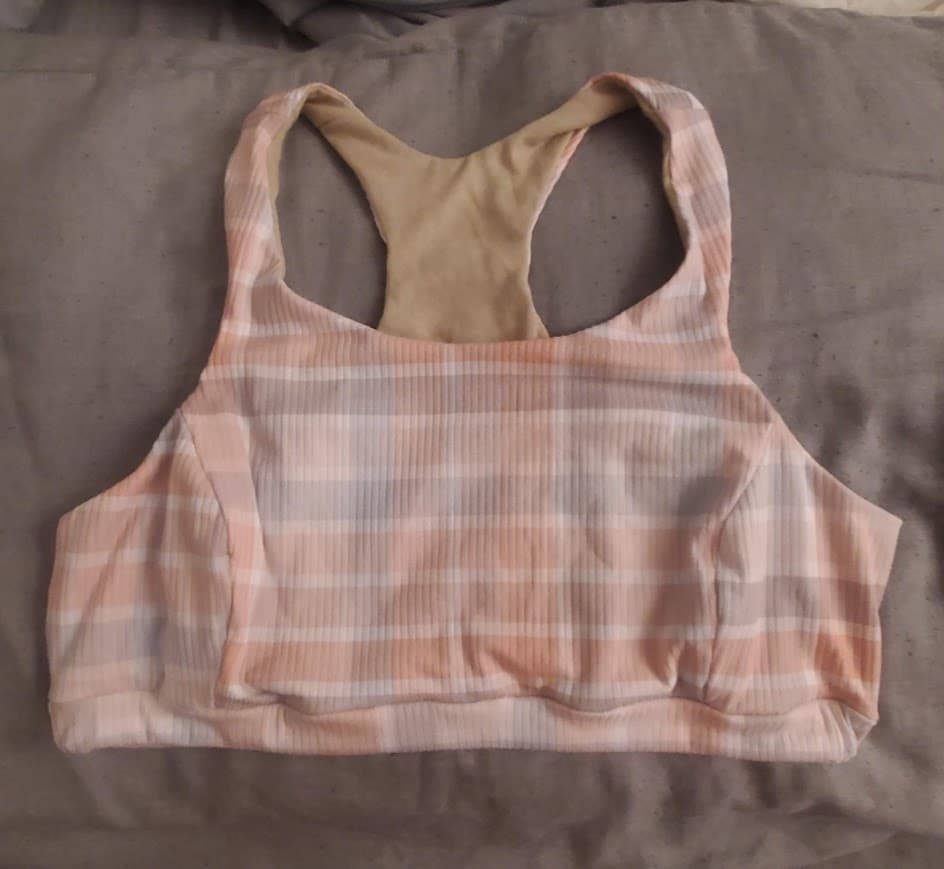
![]()
![]()
Self-fabric bound Sabrina – polyester athletic knit lined with cotton jersey
Very useful. I’ll extend the sewing instructions when I have some time.